Are you a professional YouTube Content Creator? Ever wondered why some of your videos are not as clear as compared to others? Well, you could have the best video cameras, but you still shot videos that are not very clear. The problem is not your camera or cameraman. Lighting could be the reason why your videos are not as bright as you wish.
Most people overlook lighting when making their videos thus affecting their quality.
Types of Video Lighting
- Natural light
- Artificial light
- Available light
Natural Light
You can use sunlight to shoot quality videos. All you need is to take a position near a window and enjoy natural light from the sun. It is the cheapest way to get bight videos.
The method is not always useful. During winter, there is little sunshine hence, this will affect your video quality. Sunlight intensity varies; thus, you will need to adjust your shooting time and angle frequently.
Artificial Light
Using artificial lamps for video shooting makes your videos way better. The lamps have adjustable light frequency to match that of your camera. Having the lamps on set helps in producing the video quality as you wish.
Artificial lamps are slightly expensive as compared to regular lamps. However, you need them for the best quality videos.
Available Light
In filmmaking, you can use the lights installed in the building to enhance video quality. Rooms with proper lighting help in shooting quality videos.
Tip:
A lot of you might be shooting during the daytime when there is light coming in from outside. So when you’re picking out your light bulb, make sure that you get the cool blue 5,600 Kelvin light bulb rather than the 3,200 warmer tungsten light. And when you’re buying your lights from home depot or wherever, there should be someone who can answer that question for you and tell you which one to get the 5,600 Kelvin, the cool blue light, or they’ll have it on the package for you to see.
Different Temperatures of Light
Natural and artificial lighting are combined to produce the best video qualities. Natural light from the sun has temperatures of around 5600-Kelvin while that from artificial bulbs is about 3200 Kelvin. Artificial light is yellow while that from the sun is blue. When getting artificial lamps, always buy those with a light temperature near the sun.
Different Types of Light Lamps
Lamps are classified as follows;
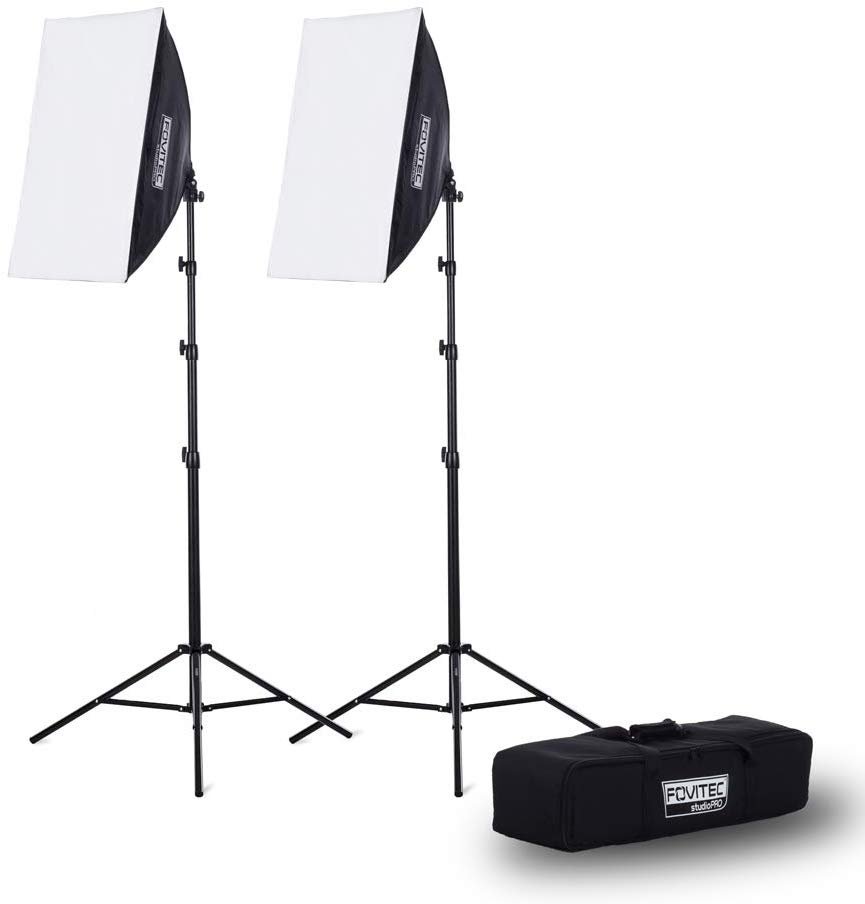
- Softboxes
- Classic spotlights
- LED Lights
Softboxes
If you want a soft shadow or no shadow on your videos, you should use the softboxes. The image and its shadow are very soft as the name suggests.
Classic Spotlights
These are lamps used in studios, theaters and TV and video shooting. They produce bright light on the image of focus.
The shortcoming of this light is that it consumes a lot of power and produces a hard shadow.
LED Lights
LED lamps/panels are the best for video production. They come in different sizes for theater use and mobile shooting. Smaller ones are easy to carry around, and some have batteries that can be used for long hours. They are energy efficient and do not produce shadows.
How to Light a Scene
The standard lighting for any scene uses there lights;
- One main light
- One hair light from the back
- One fill light
When lamps are used in video shooting, shadows are inevitable. Shadows can be hard or very soft or even unnoticeable.
Using the three-point lighting, on powerful light is set from the side. Its shadow is cast away from the image and will not be captured in your video. You will not have a shadow in your background.
Main Light
When using the three-point light, the main/key light is set on the side. It is the main source of lighting since the other lamps will not be as bright as the main one. The light is projected to the side of your face for clarity.
Fill Light
The fill light is used to counter the shadow cast on the other side of your face. Lighting helps in improving clarity on the other side. The fill light should not be as bright as the main. The contrast is adjusted by moving the lamp closer or further from the face.
Hair Light
Once the two lamps are set up, you will have a crowded background. Lighting the hair light lamp reduces darkness from the back. The light is placed at an angle behind the head, thus brightening the background.
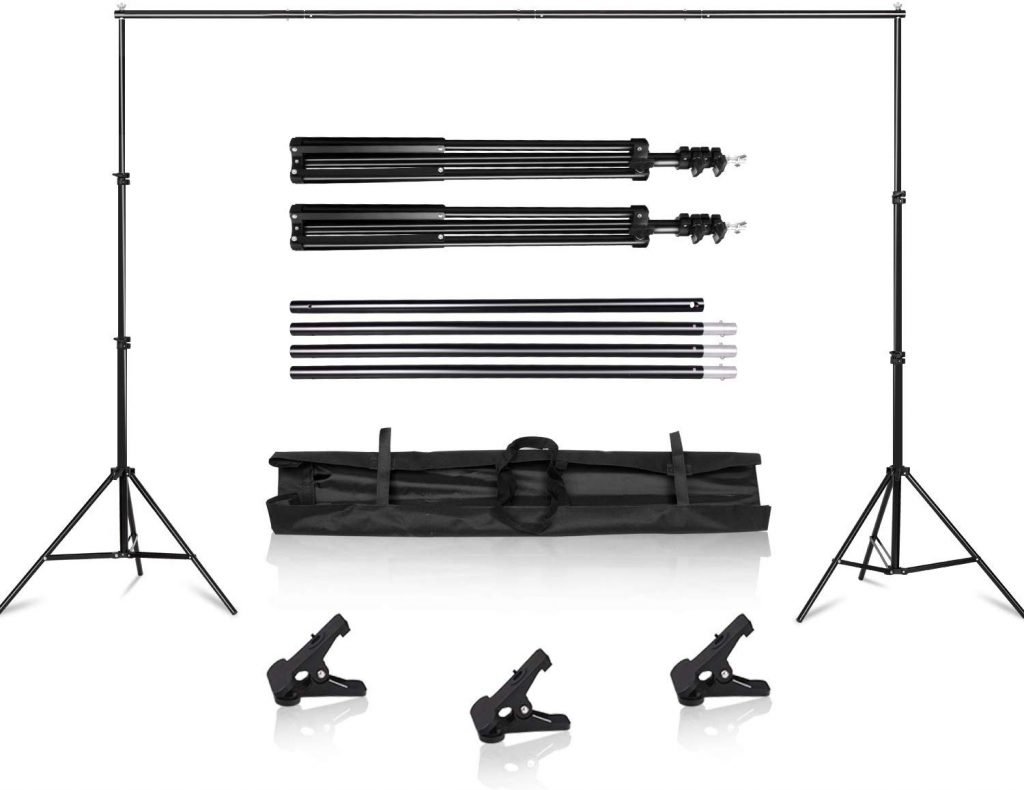
Cost-effective Lighting Kit:
Backdrop stand $30
Paper Lanterns $10
Pendant light cord/ socket set $5 per set
Daylight fluorescent bulbs $10 (4 pack)
So the takeaways that you should remember from this lesson are as follows, one, you want to make sure that it’s easy for you. So if you can purchase that backdrop or set up your lights so that they’re always there available to turn on. Now a lot of you might not have an office or studio where you can just leave lights up all the time, but if possible, it will make it a lot easier to make videos and it won’t be as much of a headache.
The second thing is you want soft light and that’s what these paper give the paper on. The lanterns creates this very soft diffused light that looks really good on skin and so that’s why I really love these paper lanterns and these lanterns are cheap, as I mentioned, less than $15 per light, including the socket, the power cord, the light bulb and the paper lantern itself. And lastly, get the right light bulb. If you’re shooting inside and there is light shining through a window, making sure you’re getting the cool blue light bulb rather than the warm tungsten style light bulb.
2nd option
The light ring is probably the most portable of the kits we are recommending. As a starter, this is the kind of a filler light, and for a lot of other applications, we use a Halo Prismatic, the LED version, which is the newest version. Love this light, really good reproduction of skin tones. It has a lot more, better features as far as brightness.

Best option for content creators

Thank you so much for learning with us. I hope you’ve enjoyed this lighting kit tutorial. If you have any questions, let us know.
Summary
- Using artificial light improves your videos. It may come at a slightly higher cost, but it is worth it.
- When lighting a person, the three-point lighting gives excellent results.
- When lighting, shadows are inevitable. You can, however, control where you want the shadow cast.